
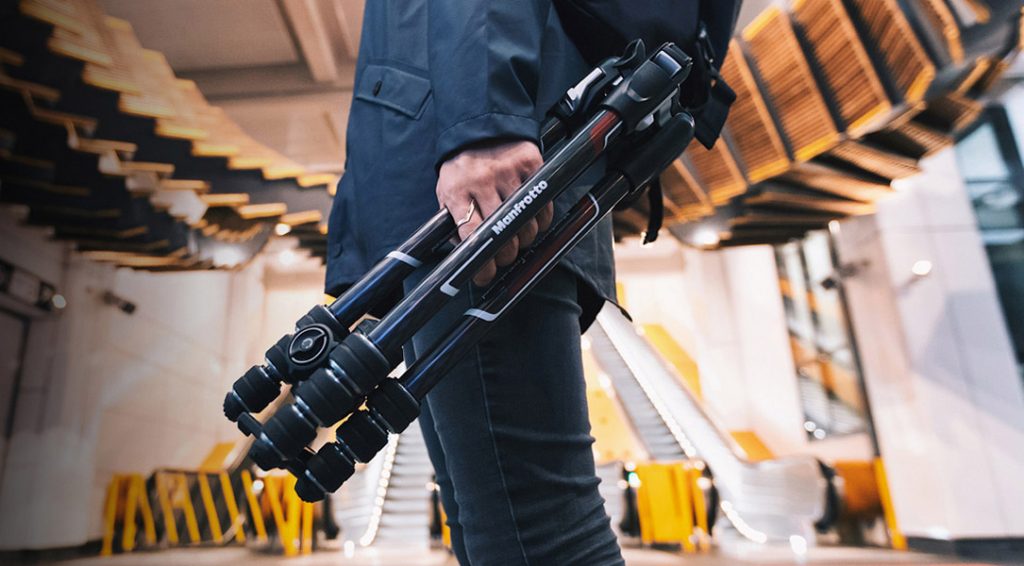

Why do we buy tripods? To get that one essential element for your craft, stability.
But what if you have invested in a low budget tripod or bought a tripod only to realise that it isn’t stable or sturdy enough and even a small amount of wind is able to ruin your shot?
Well, we can fix that in 3 very simple steps.
01. Tripod should have Small Hook, to make it more stable

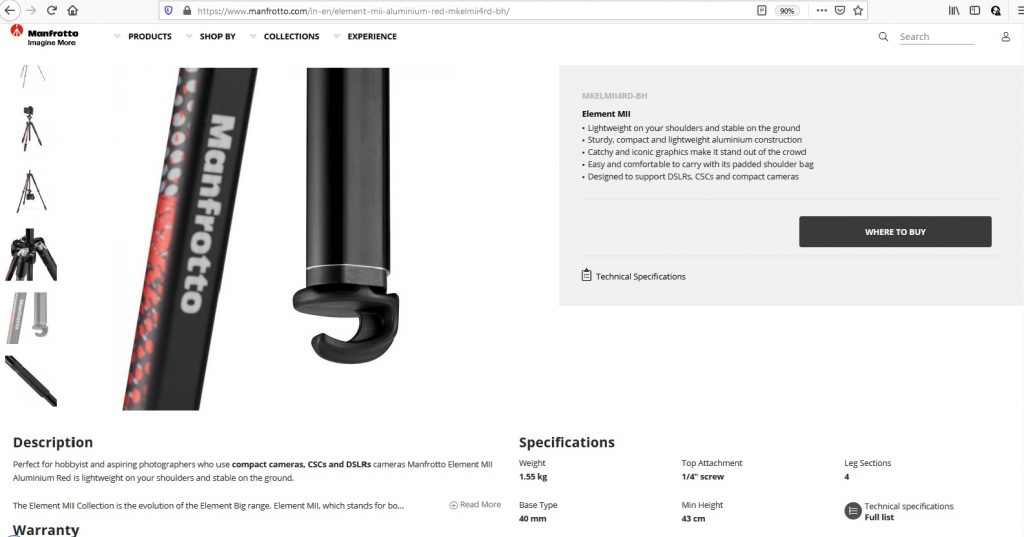
Well if you have already bought a tripod without a hook underneath well then maybe you should skip this point and make sure your next tripod for sure has a hook.
Say you bought a low budget tripod for your camera and you are using it to capture beautiful time-lapses on a windy day, but a little wind is very capable of catastrophically ruining your timelapse with adding shake or on a bad day even capable of changing your framing.
RELATED: How to shoot time-lapse using Mobile phone.
RELATED: 5 Important Things to Remember Before Buying a Tripod.
One will say, then should I buy an expensive, high-end, heavy tripod to fix this in the first place itself? No, don’t worry, you can get the desired stability from your low budget tripod with the help of a sandbag or your camera bag or a backpack that you are carrying.
So whenever you buy a tripod make sure it has a hook underside the center column. This hook is meant to put weight on it.
Once you set your frame you need to do a couple of small arrangements to keep your tripod steady. Firstly, use a sandbag or camera bag or your backpack (use sand or rock from a nearby area where you are shooting to fill up the sandbag) and hang it on the hook, this way you put extra weight to the tripod and due to gravity now we have a steadier tripod than ever. Now you have all the stability you need for your craft.
Do try this and let me know how did it work for you in the comment section and do share this with your photographer friends.
02. Extending tripod legs in a right order

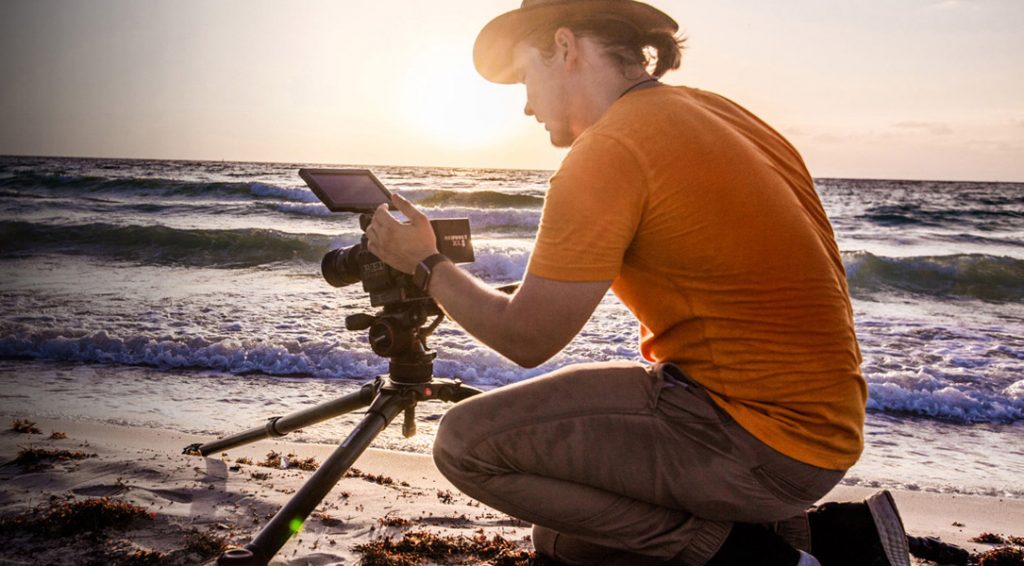
Hmmm… Yeah. You read it right. Extending the tripod legs in the right order. Tripod legs generally come with 3 sections per leg. The uppermost legs are the thickest ones. So always start with the upper section and follow simultaneously until you get the desired height. Its simple, the thicker the legs the more stable it is.
And if your tripod has a center column, I know you might raise it first as it’s easy than raising 3 legs. NO, a big no, center column should be the last one to be raised.
03. Position the Tripod Legs


Now that you have sandbag mounted on the hook and you have set the tripod to the desired height we need to do one last adjustment, positioning the tripod legs
For that, you have to make sure that one leg should be pointing in the direction of the lens and two other tripod legs should be positioned in a way so that you can stand between them.
This positioning ensures the firmest balance once the camera is mounted to the tripod It also means that you’re less likely to knock the tripod while taking a shot.
Now your tripod is as sturdy, stable and steady as rock, go hit that shutter release button and create magic.
Please do let us know if these tips were helpful and also add if you think something else can also help to make the tripod steady.